

DOWN

線上商城:


Menu


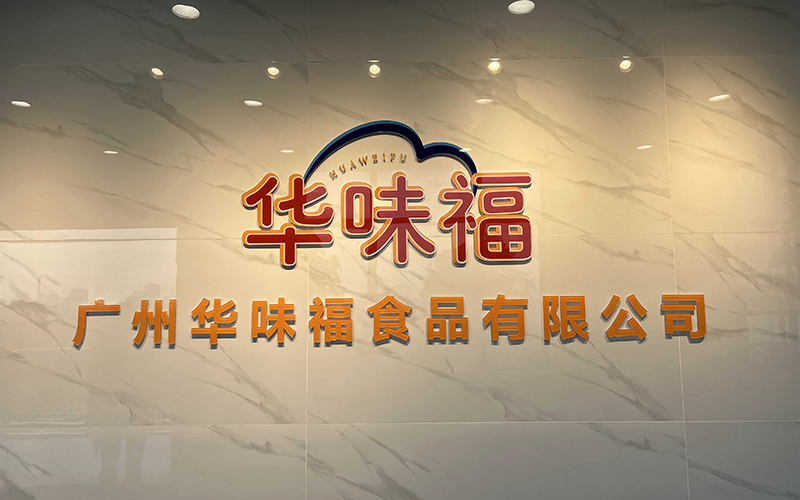
廣州華味福食品有限公司
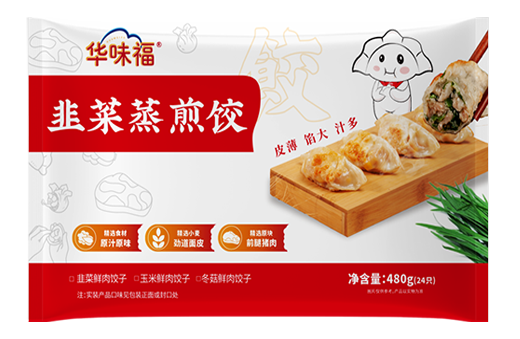
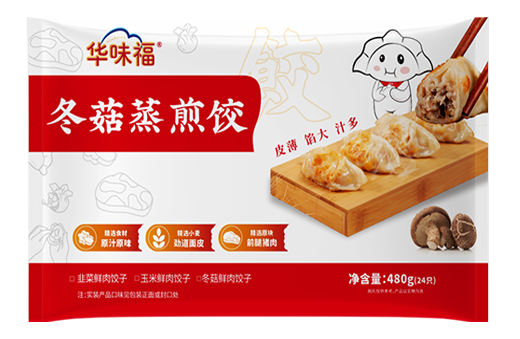
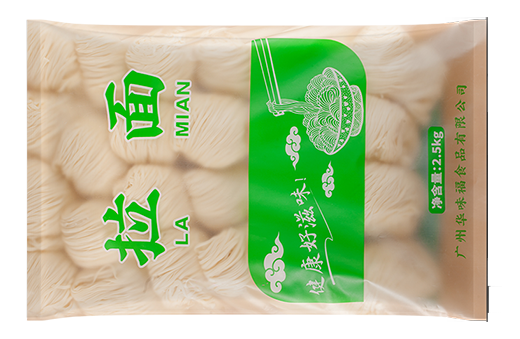
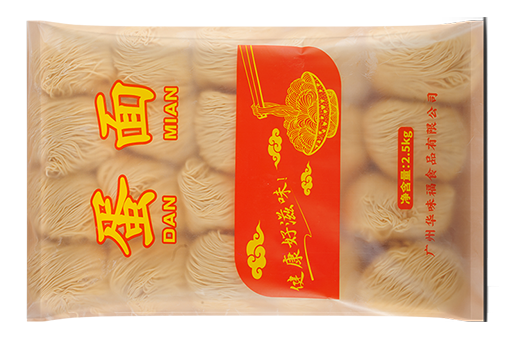
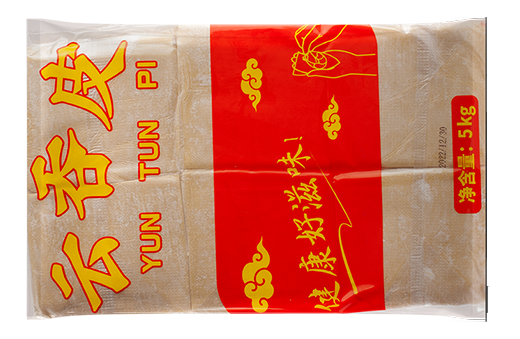
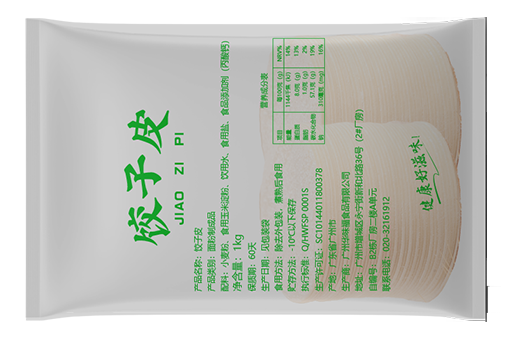
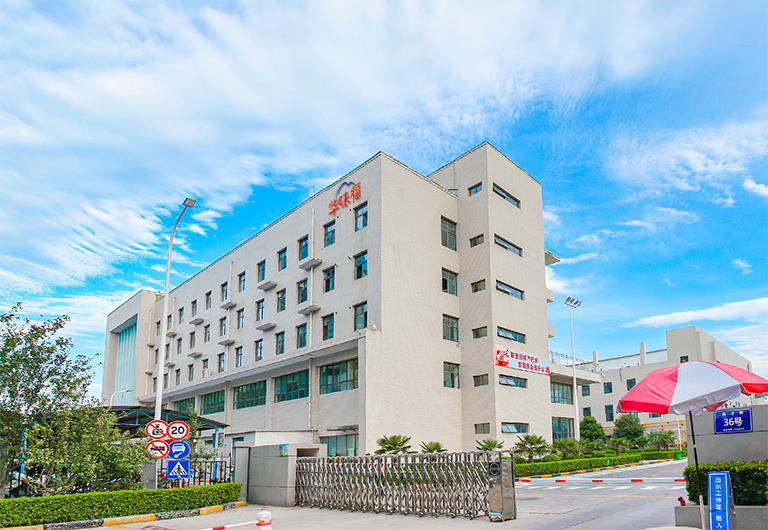
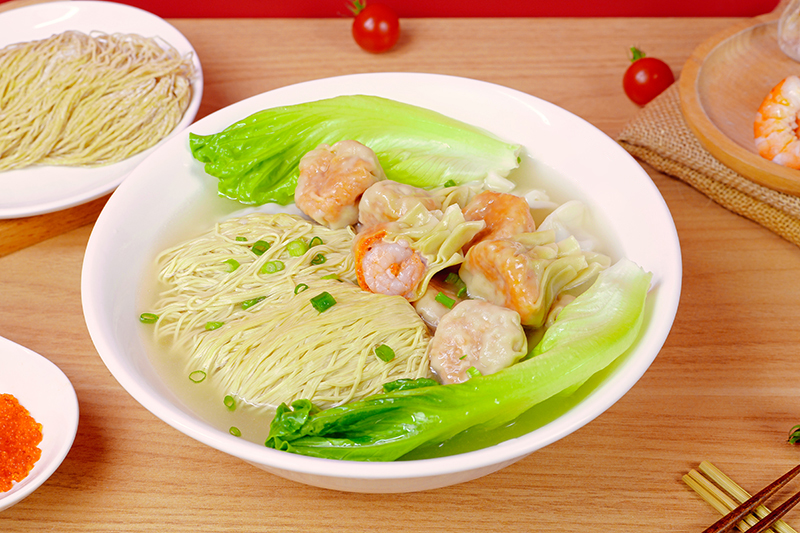
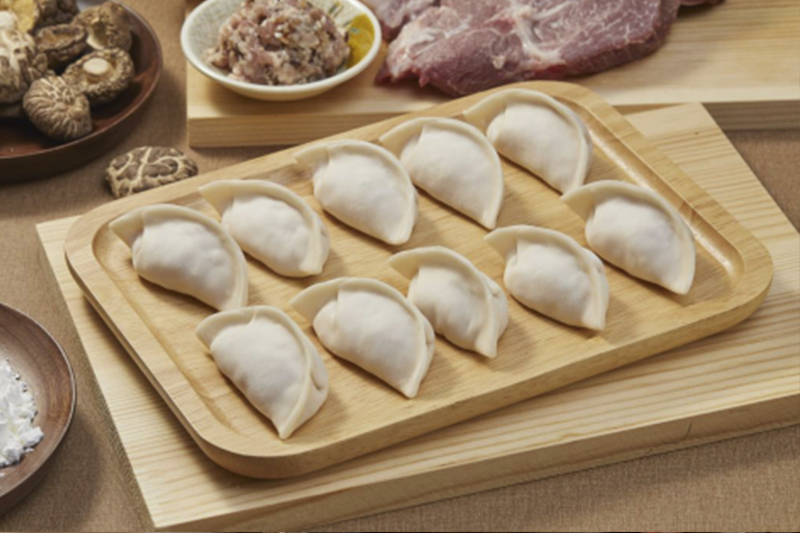
廣州華味福食品有限公司位于廣東省珠江三角洲腹地的,廣州市增城區。是一家較早生產和銷售水餃、蒸餃、煎餃、云吞、拉面、蛋面、肉餡、云吞皮、餃子皮等原材料的企業。成立于2017年5月,前身為麥華記食品廠。經過多年的努力以及在廣大顧客的大力支持下,時至今日,擁有國內領先水平的面制品生產線,嚴格遵守GMP、SSOP產品生產質量管理規范,建立HACCP管理體系,確保產品質量和食品安全。已成為一家管理完善,規模較大的速凍食品公司。新產品不斷拓展,業務蒸蒸日上,銷售網絡遍布各大中城市乃至港、澳地區。
華味福致力于為消費者提供營養、健康,品質優良的食品,深受顧客歡迎。本著"信譽...查看更多 >>
廣州華味福食品有限公司
廣州華味福食品有限公司位于廣東省珠江三角洲腹地的,廣州市增城區。是一家較早生產和銷售水餃、蒸餃、煎餃、云吞、拉面、蛋面、肉餡、云吞皮、餃子皮等原材料的企業。成立于2017年5月,前身為麥華記食品廠。經過多年的努力以及在廣大顧客的大力支持下,時至今日,擁有國內領先水平的面制品生產線,嚴格遵守GMP、SSOP產品生產質量管理規范,建立HACCP管理體系,確保產品質量...查看更多 >>
- 50年發展
時間考量品質 - 1000+員工
大量在崗員工 - 7000+平方
大型園區生產基地 - 1000+合作門店
品質值得信賴
工廠影像
VIDEO


-
郵箱
admin@hwfgd.com
-
服務時間
周一到周日8:30-12:00 ~ 13:30-17:30
-
服務熱線
400-816-3833
粵ICP備2022006496號 版權所有?華味福食品
- 微信公眾號
- 微博帳號
- 抖音帳號

微信公眾號
掃描關注華味福公眾號

微博帳號
掃描關注華味福微博帳號
抖音帳號
掃描關注華味福抖音帳號